|
|
||
|
|
||
|
All
information presented Your
use of this information |
Last
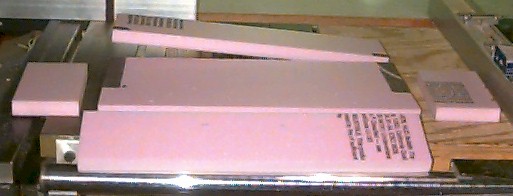
year we only got a few stones completed, so this year we plan on quite a few more.
Hopefully we will offer a couple of new ideas, or at least cover a few aspects I have
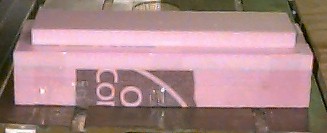
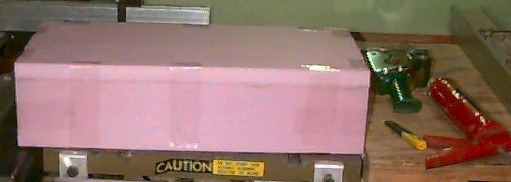
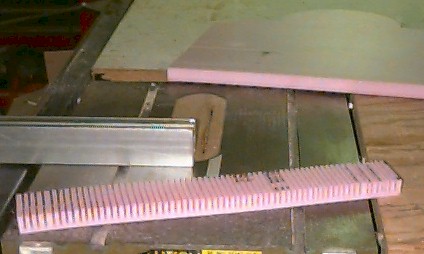
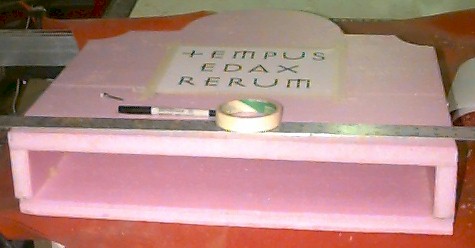
noticed folks have forgotten. It is better to be over sized then under sized, since you can easily trim away excess with a razor knife a rasp a file or a surform. Now break out the Liquid Nails, and
apply a small amount to one edge where it will butt to a face, press them together,
squiggle them around to distribute the LNs, then pull them apart. It will appear all
stringy and ridgy like ceiling texture before it gets knocked down. Allow about two
minutes for this to just slightly skin over, then press them back together. Repeat procedure until you have all
the components of your tombstone together. |
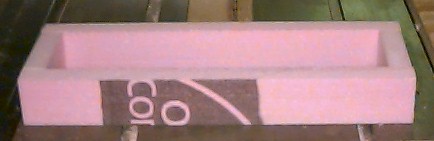
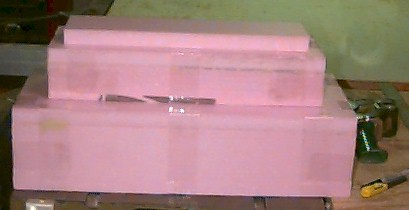
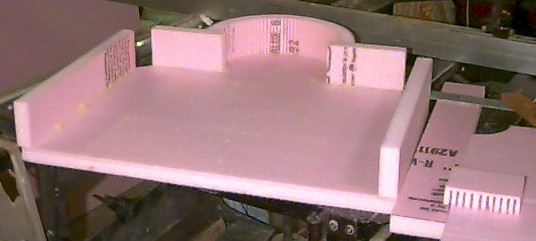
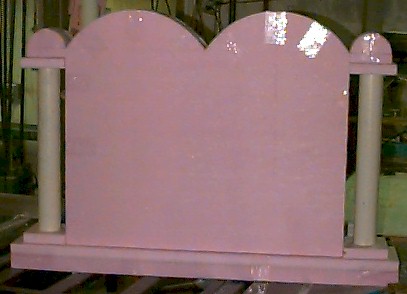
Now I find handling curved faces simple, and I think you will too. Start off with the face
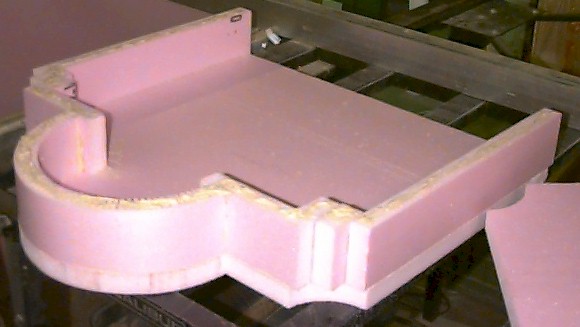
you want curved as a simple slab. To figure the length you need, take your face radius times Pi times two, then multiply that by the portion of the arc of circle your piece would equal. In this instance I am making a half
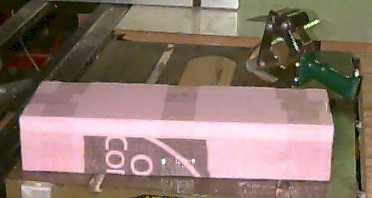
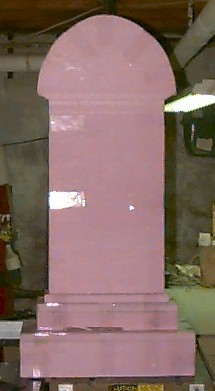
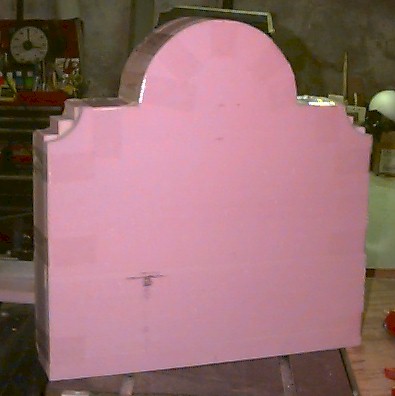
circle so: This is what that stone looks like
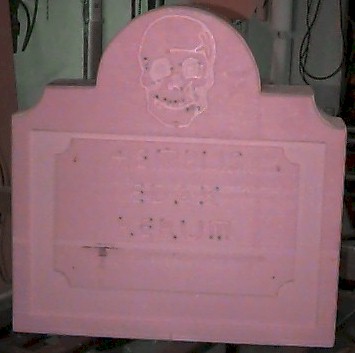
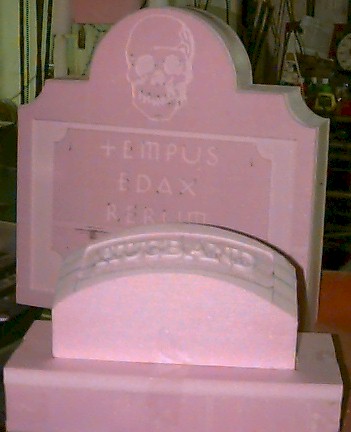
assembled. I will be adding to this page as more stones, covering topics such as decorating by routing, dremeling, corroding, and heating. I will also cover adding sleeves to keep the stones from flying off in the wind, adding applied pieces parts for more depth and ornamentation, painting for a quality graveyard appearance, adding devices to add motion and animation to the stones. More to come soon. |
|
For superb tutorial on how
to make foam sheet based tombstones
|
||
|
|
||
| You
are visitor #
to
this web page since October 7th, 2001 |
||


