|
|
||
|
All
information presented Your
use of this information |
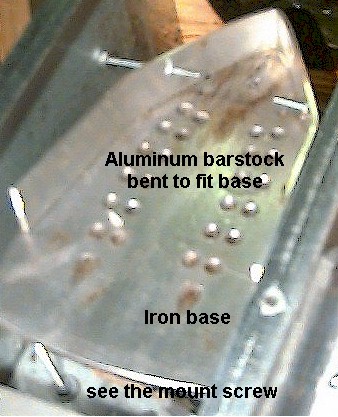
This takes the basic iron based fogger and adds a few improvements to maximize the contact time between the iron foot and the fog juice, OK, on to the project!
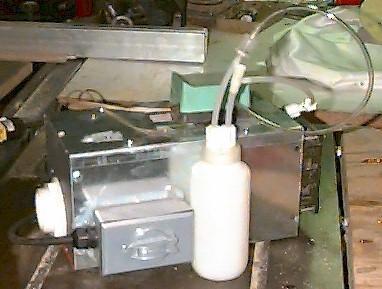
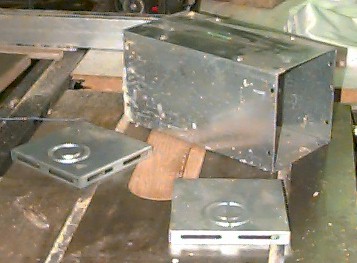
Now I know many of you wont have some of the items I happen to have, but I can tell you most are readily available through electrical supply houses, home depot, and plastics supply houses. One comment before I continue, this machine will only put out so much fog, and is good for small fog effects. The cost of foggers these days has dropped drastically (40-60 bucks for a 2000cu.ft. model) so if you need something to fill more than a 15x15 room fast, don't make this. However, if you want a fogger that can make a decent amount of fog, and DOES NOT need commercial fog juice, this is what you want to make. On to the show... I started with a 6x6x12" metal
wireway as the housing since I have em laying around, I also have the ends available to
me, so I used one, with the knockout removed. The nice thing about these is that they have
removable tops. Now it occurred to me while stripping this down, that you could leave the steam attachment reservoir intact, and funnel the fog juice into it, but that's a project for another day. I used one of the metal box ends and
removed the knockout. I then used a 2" bulkhead fitting used with aquariums and
plastic tanks in the knockout hole, making it a breeze to hookup to a chiller and your fog
distribution system. |
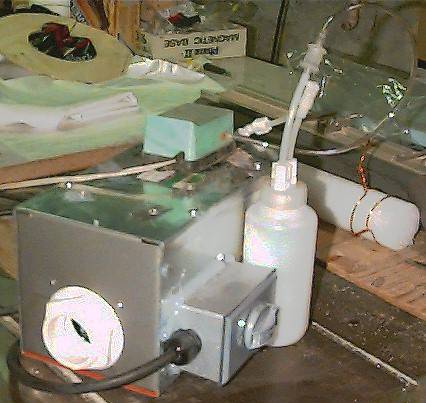
Once the MPB is mounted attach a power cord with a strain reliever used with knockout boxes for rough wire-ins, leave a few inches of slack in the box to connect to a dimmer switch. Mount the planteen to the inside of the box with a 2.5" x #8 to the toe of the iron, and (2) 3" x #8 screws to the heel, you will need to drill a few holes for the screws. Secure the screws with lock washers and nuts to the case bottom. My iron happened to be tapped for the screws in the toe, so I used that to secure it in place, while the heel rested on the 3" screws. Run wires to connect the iron and the
fan through the hole made earlier and connect those in place. You want to run hot from
power to the dimmer and fan, connect the other wire from the dimmer to the one of the iron
leads, connect other iron lead to the other fan lead and the common from the power. Mount
the dimmer into the MPB and place on a cover with a flip lid. This allows you to fine tune
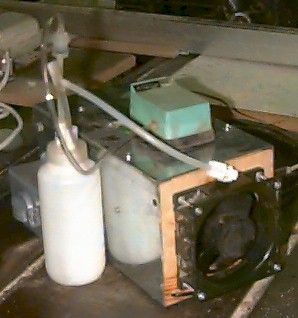
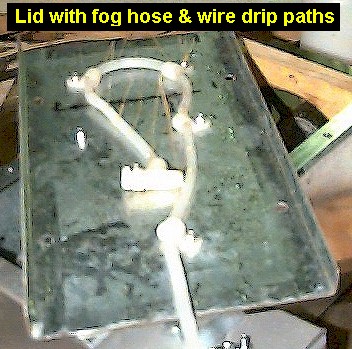
the heat to fine tune the iron temperature. Now for the lid mount a piece of quarter inch OD polypro hose with enough length to pass through the fan mount plate. I chose to use cable clips riveted in place since I had them, but you could just as well drill a few holes in the lid and attach the hose with some wire. Once the hose is mounted drill very small holes with a dremel, or poke the hose with a pin half a dozen times for the juice to drip out. Be sure to seal the end of the hose under the lid with either silicon, or heat it and squish it together. At this point I took very fine brass wire (24 gage) and made a loop around the polypro hose where I made the pin holes, leaving a bit of excess to hang towards the iron. This allows the juice to run down the
wire directly to the iron, instead of getting blown off the iron as it dances from the
heat, or before it ever hits it from the fan blowing the small droplets. If you intend on gravity feeding the juice, you are pretty much ready to go. I chose to pressure deliver it by hooking an airpump to an inlet hose with a check valve in place on my container than running a supply hose to the needle valve. TADA Plug it all in and test it, if you want greater fog output add more holes and wires to the hose. BTW I suggest a low power fan for your air drive, perhaps about 6 watts. |
|
|
||
| You are visitor # |
||


