|

All
information presented
on this website is
presented 'as is',
with no warranty,
suitability,
or fitness
of purpose implied.
I do not accept any
responsibility for any injury
resulting from use
or misuse
of this information.
Your
use of this information
constitutes acceptance
of these terms. |
I needed a tent,
quickly and inexpensive, for a party we were throwing. While thinking I
could use electrical conduit (EMT which is metal) and fittings to do the
job, I realized I was confusing PVC fittings and electrical fittings.
and the original idea of fabricating the structure with straight pieces
of conduit (sticks is the common electrical term for 10' segments of
conduit) just wasn't feasible. Over the years I have installed a lot of
commercial electrical feeds for various equipment in businesses and
shops of mine. This installation entails a lot of bending of the sticks
to make electrical runs to where you need them. I then rethought my
original premise, and conceived of this idea.
Why not make the equivalent of a circle of conduit, using the bends
to form the tent structure. The structure I made was that of a tent with
a peak running the length, simple enough, and could be almost entirely
done in a loop, except the apex, which would have to be mechanically
fastened. Now you could just as easily make this with a flat roof, and
in smaller elements, giving you incredible flexibility in design and
layout. You can have 1, 2, 3 or heck all sides covered. Your limit is
your funds and your imagination. For smaller layouts, without long runs,
or height, I recommend 1/2" conduit and fittings, for larger runs,
and taller structures I would recommend 1", however 1/2" is
much easier to manipulate on the fly.
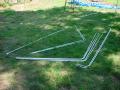
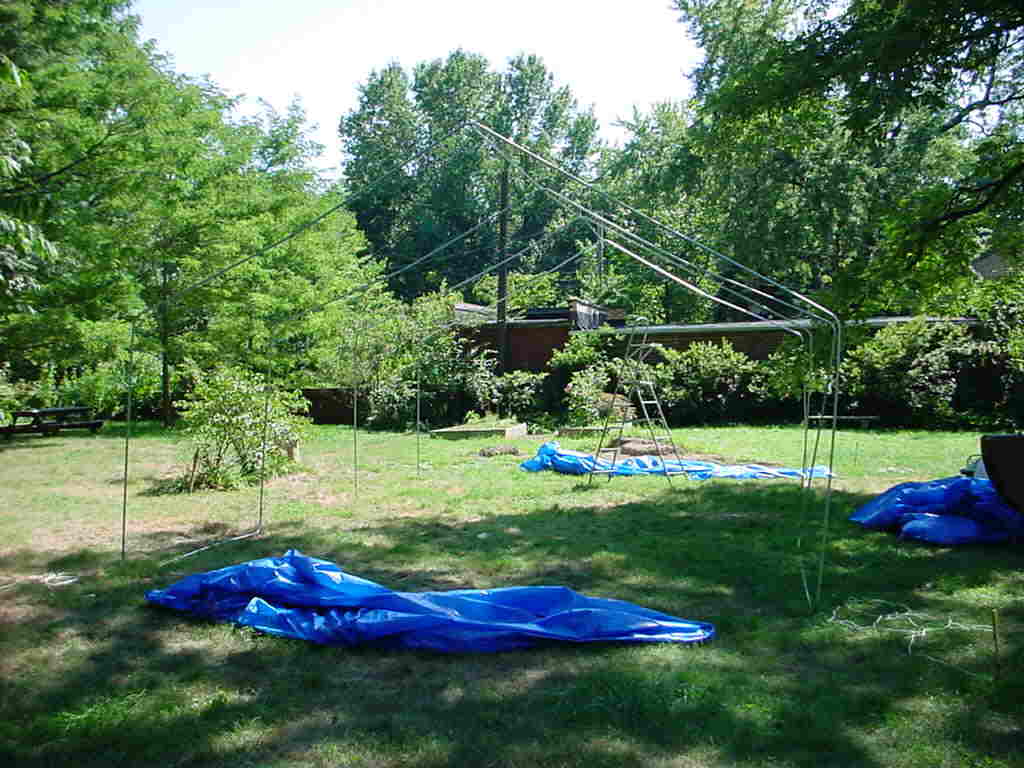
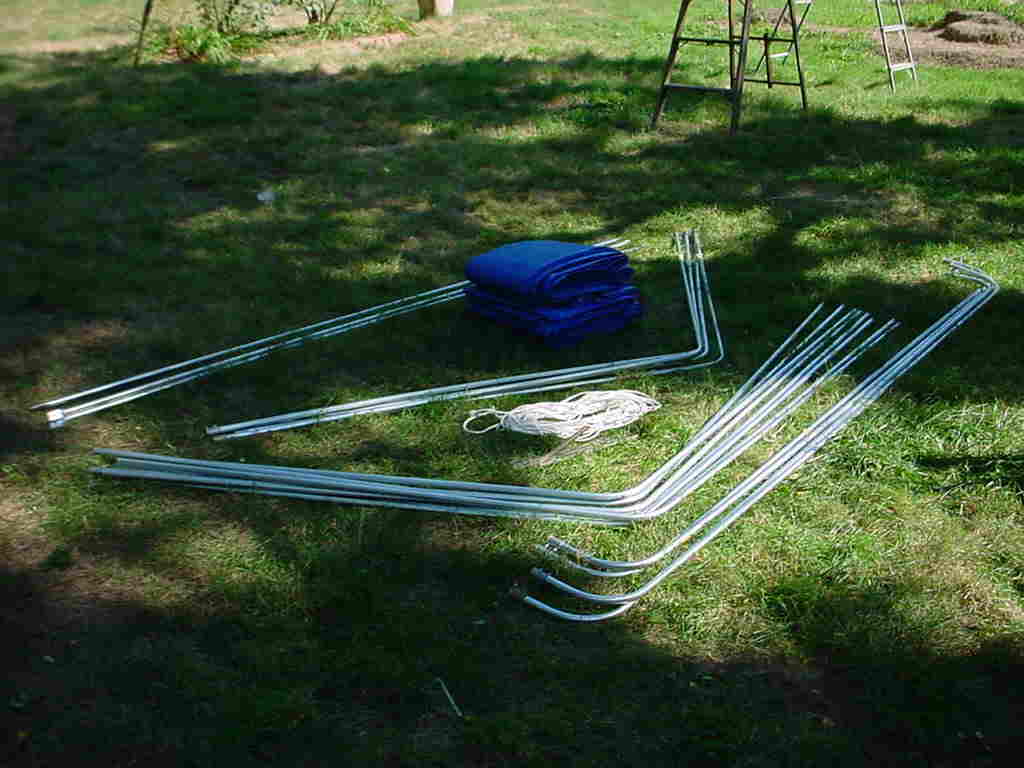
Here is a picture of all the parts waiting to be assembled into a 10' x
30' tent. You really do not need much by way of tools, a list will be at
the end of this page. To make a 4' x 4' x 8' flat topped section
you would need (7) 1/2" sticks, 8 couplings and plastic or tarps to
cover whatever faces you don't want open. That's less than 10 bucks. To
make it 4' x 9' x 8' you would need 9 sticks, and 8 couplings.
Now, the easiest way to plan this in 1/2" conduit is to thing that
with every piece that you want corners (easiest to keep aligned)
you will lose 1' of length on a run.
Notice in this picture that the base pieces (the ones with bends in both
ends) were 10' sticks, each side riser was a 10' stick, and the apex
piece was a 1' stick) the long pieces with no bends were the apex
supports cut to 9'-2" with the ends flattened in a vise, to give
overlap when connected to the main frame.
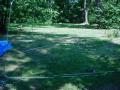
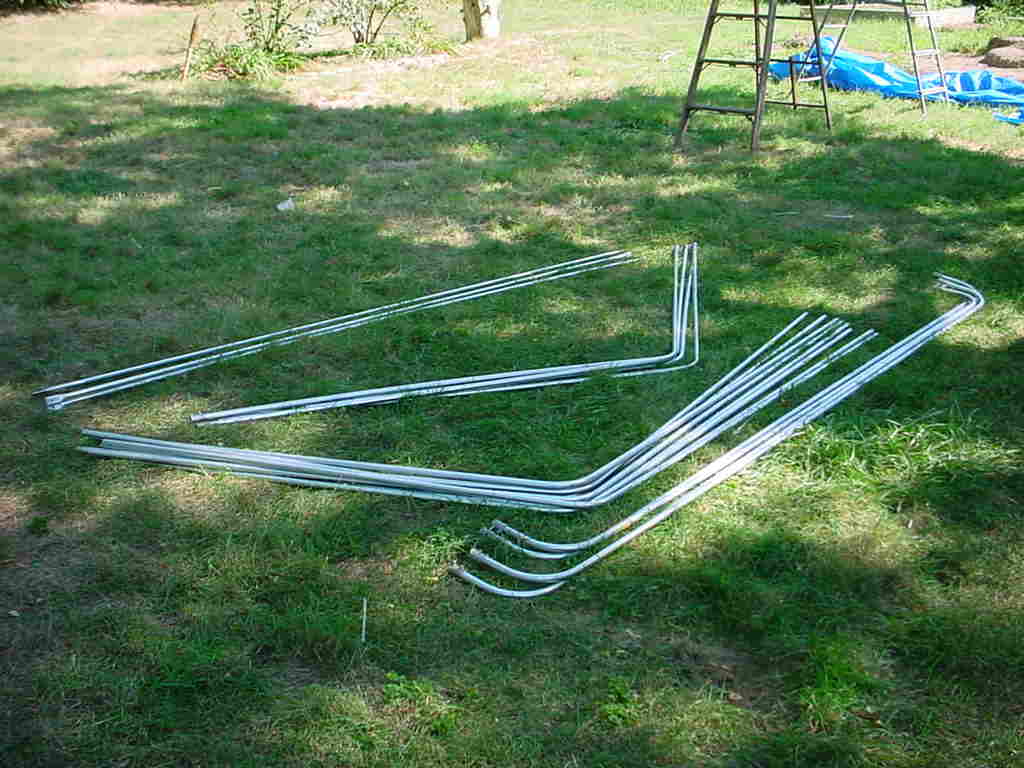
This picture shows the parts to make a single 19' x 9' x 12' tent
section. The nice thing about this idea is you can economize by building
every other section you need and using connecting bars to make runs of a
span up to 10'. Also, the conduit gives you a place to string your
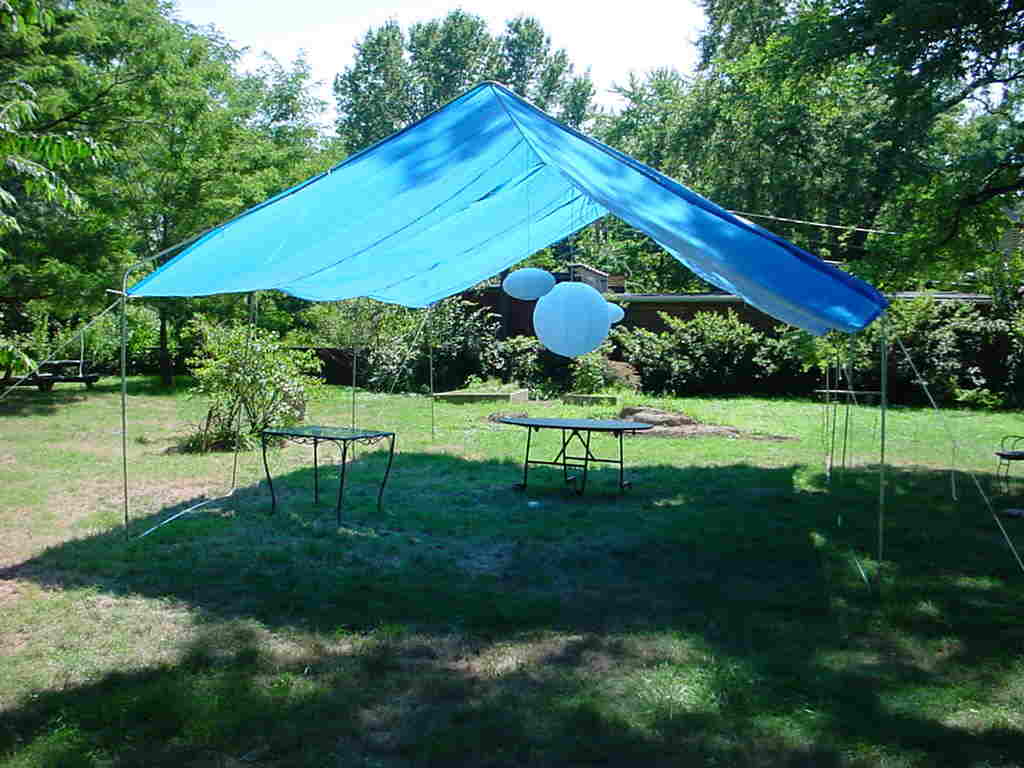
lighting, hang speakers, and props, etc. If you look at the first
picture you can see we hung three lights inside the tent for atmosphere.
We just wrapped the cords around the conduit, and cable tied them where
we wanted a drop.
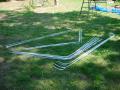
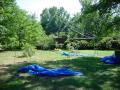
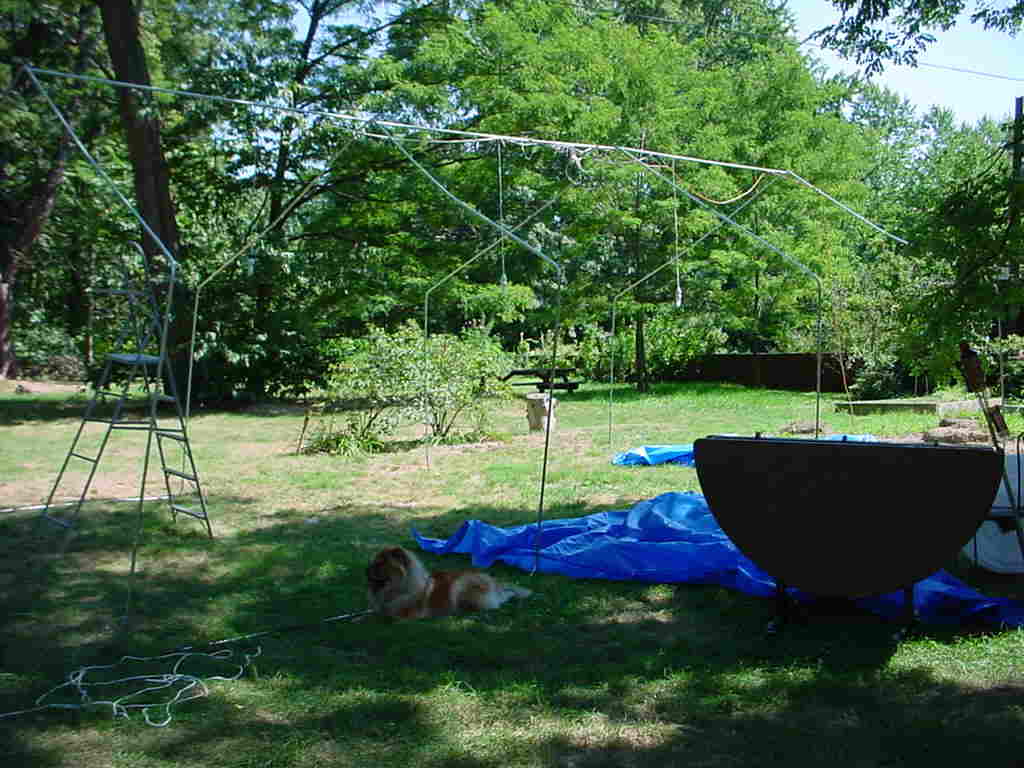
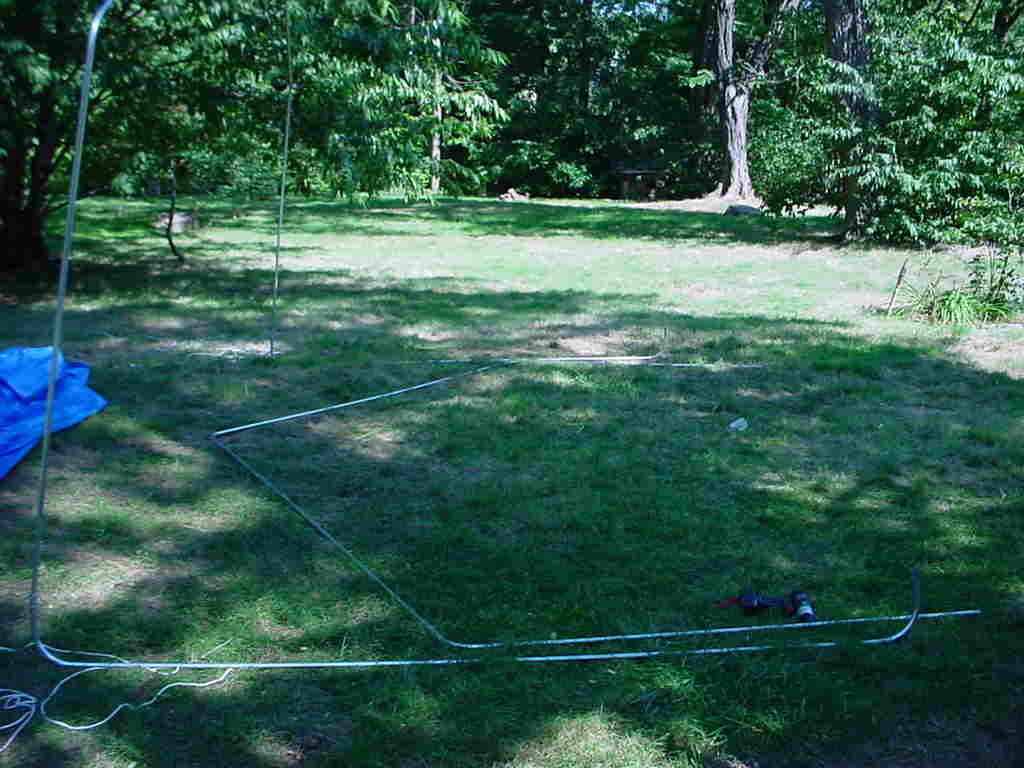
Here you can see how the frame is assembled, in the foreground is a base
section, bent at 90° on each end.
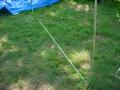
Laying behind it in the shot is the assembled set of legs and apex
section. At the left side of the image you can see a section already in
place.
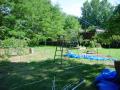
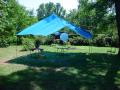
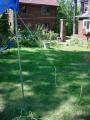
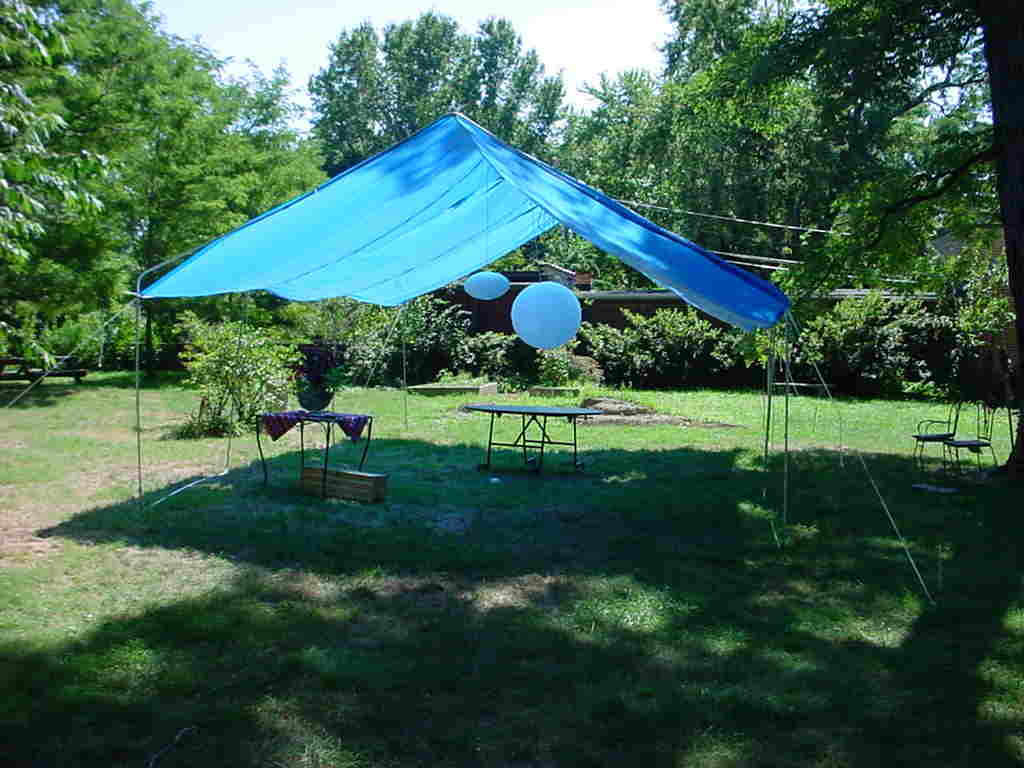
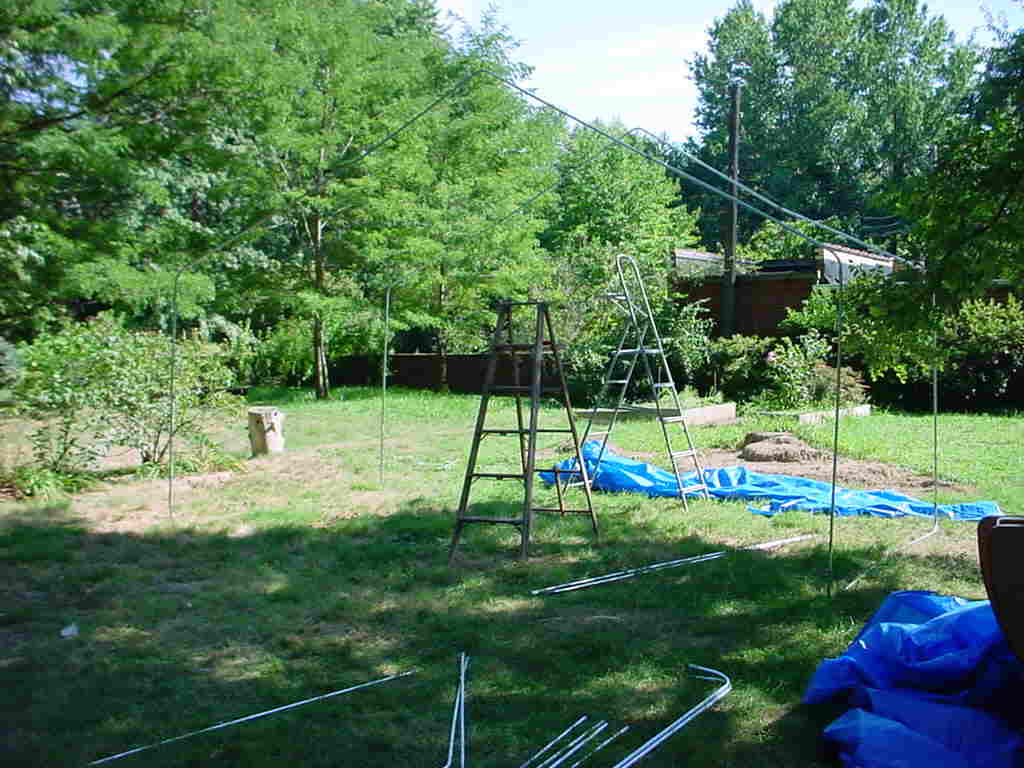
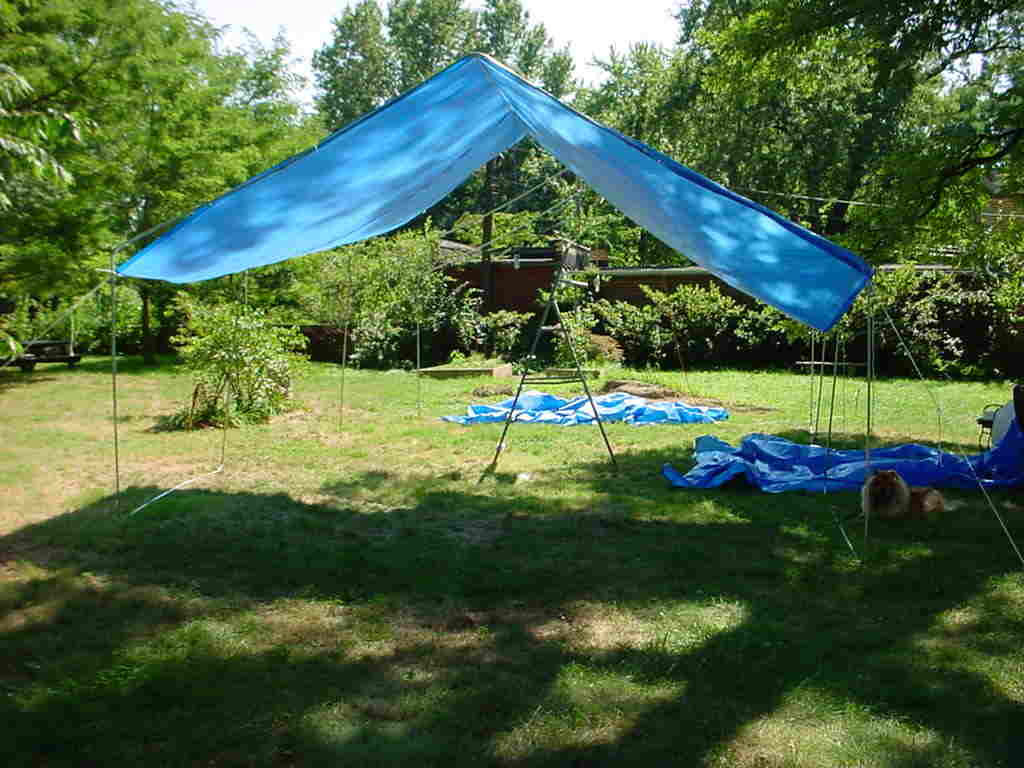
Here you can see the frame assembled and in place.
In my version, I needed a
pointed roof, so my bends are on the legs (to take advantage of the
conduit length) and the apex section. I do not recommend drilling holes
for the supports in the bends of your frame, that would make a weak
point. In a tunnel system, you could easily just make bends at the ends
of the top sections. Make legs to the height you want minus about
3", and then just make your top sections with bends at both ends
like the base sections.
|
Once I had assembled 2 frames, I separated them by the same distance as
the run of a single frame. This allows economy by not having to build an
entire 3rd frame. Instead I spanned the 2 frames with a single stick, cut
to the appropriate length crimped flat on both ends, then drilled with a
hole to fit a screw thru.
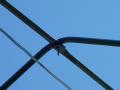
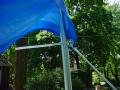
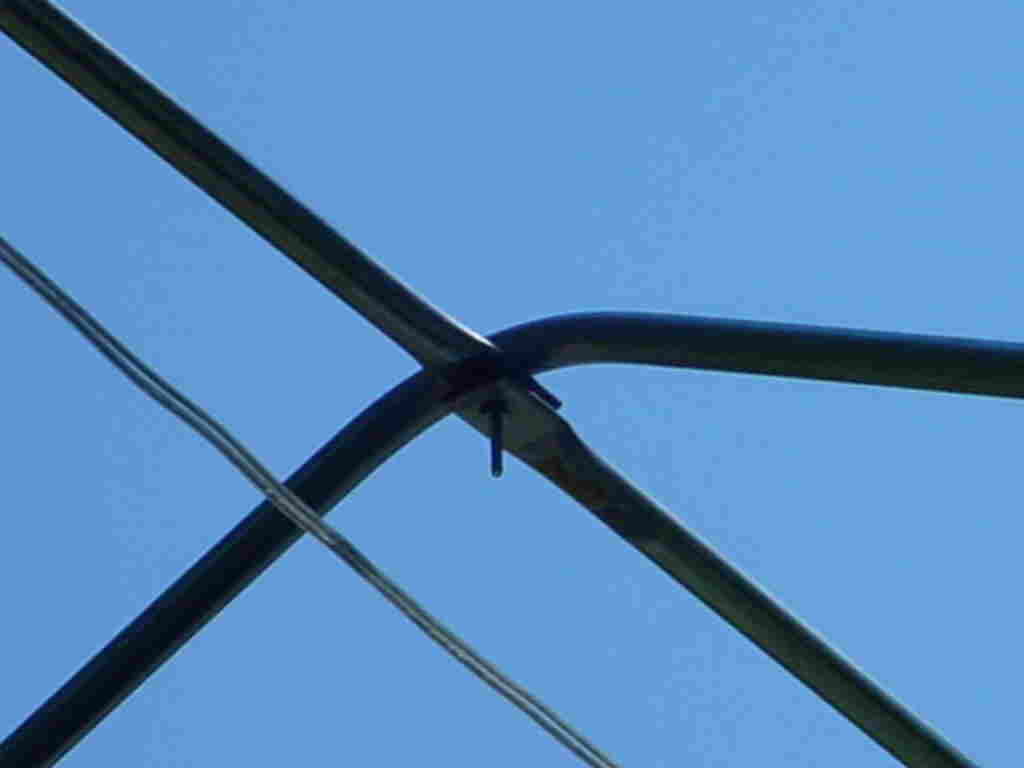
As you can see the I have fitted both sections and the span between the
2 frames with bars across the apex. This was done by drilling a hole
where needed on the apex stick on each frame, and then putting a screw
thru that hole, and thru the hole in the span stick, retaining it with a
nut. In my case accomplished with #8x1.5" screws and nuts I had on
hand.
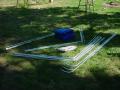
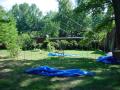
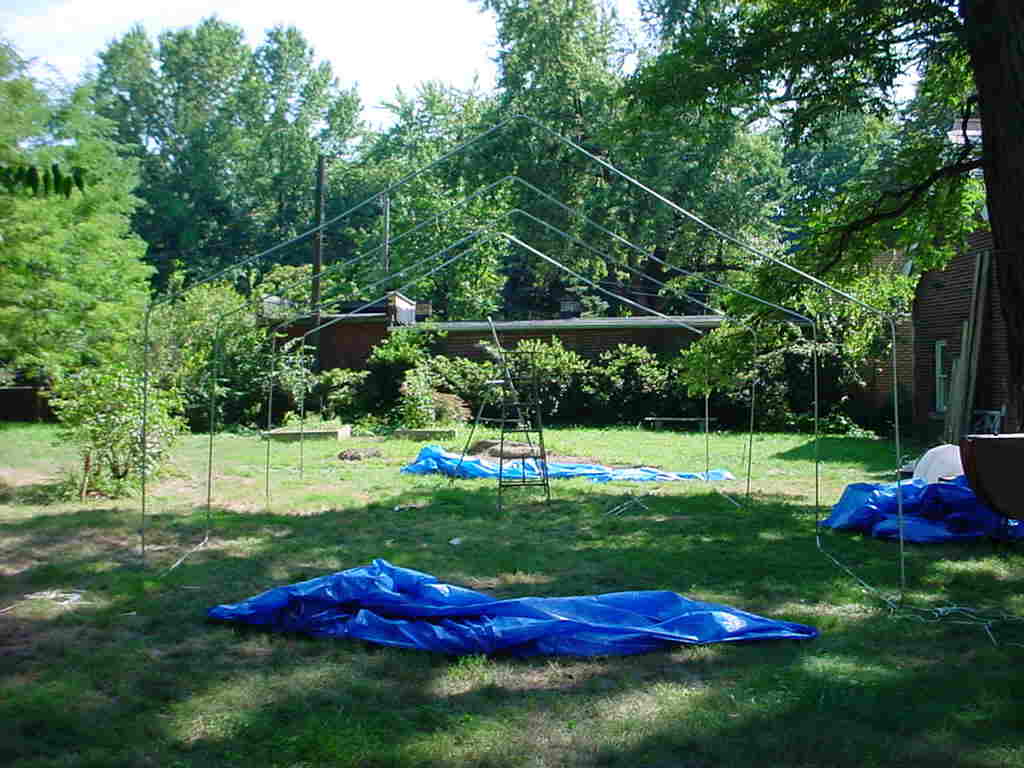
While the sucker was tarp-less, we strung up the lights to be used
during the festivities. As you can see at the base of the closest frame,
Desi was assisting by tenaciously guarding the parts.
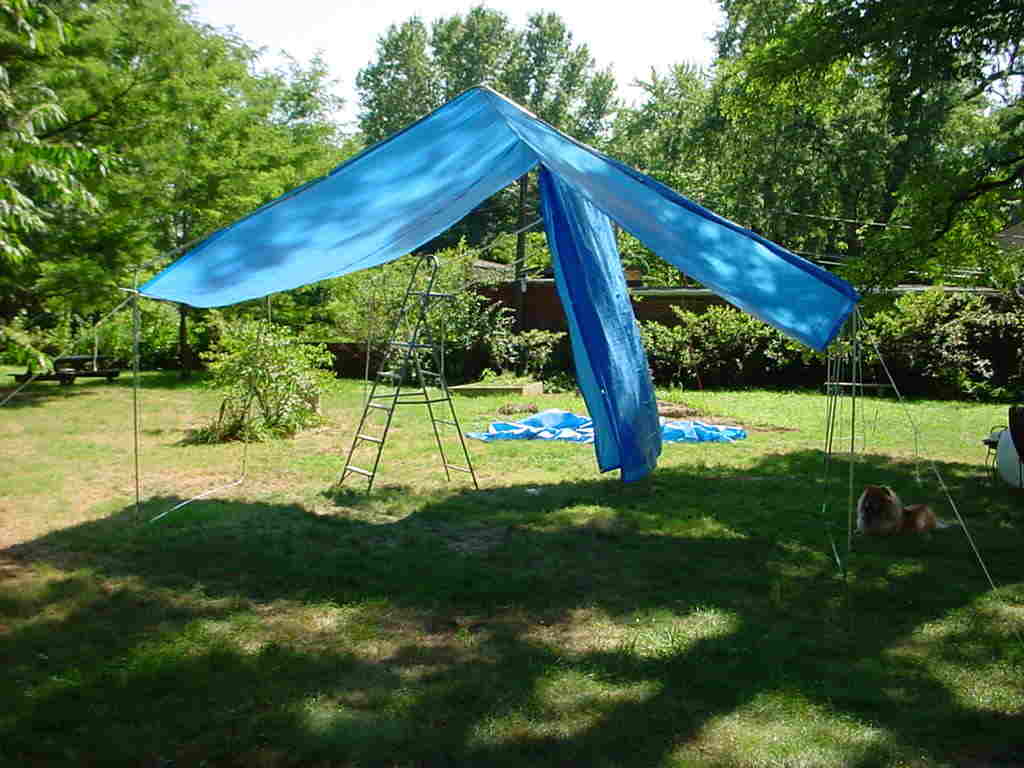
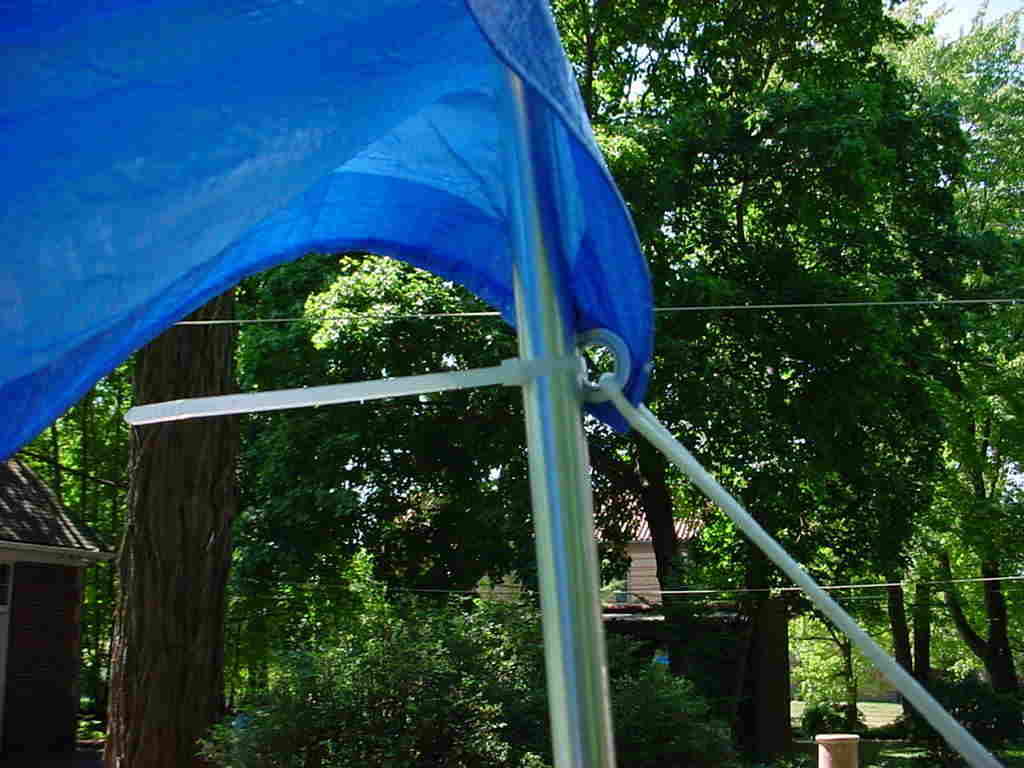
Once the lights are in place, it is time to begin attaching the tarps.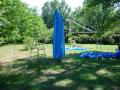 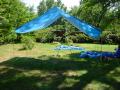
Attaching tarps was easy, I used releasable cable ties thru the
grommets, cinching them down snugly while at the same time wrapping the
tarp a bit around the conduit.
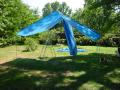  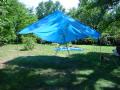  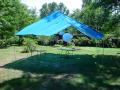
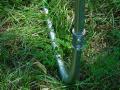
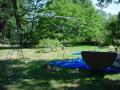
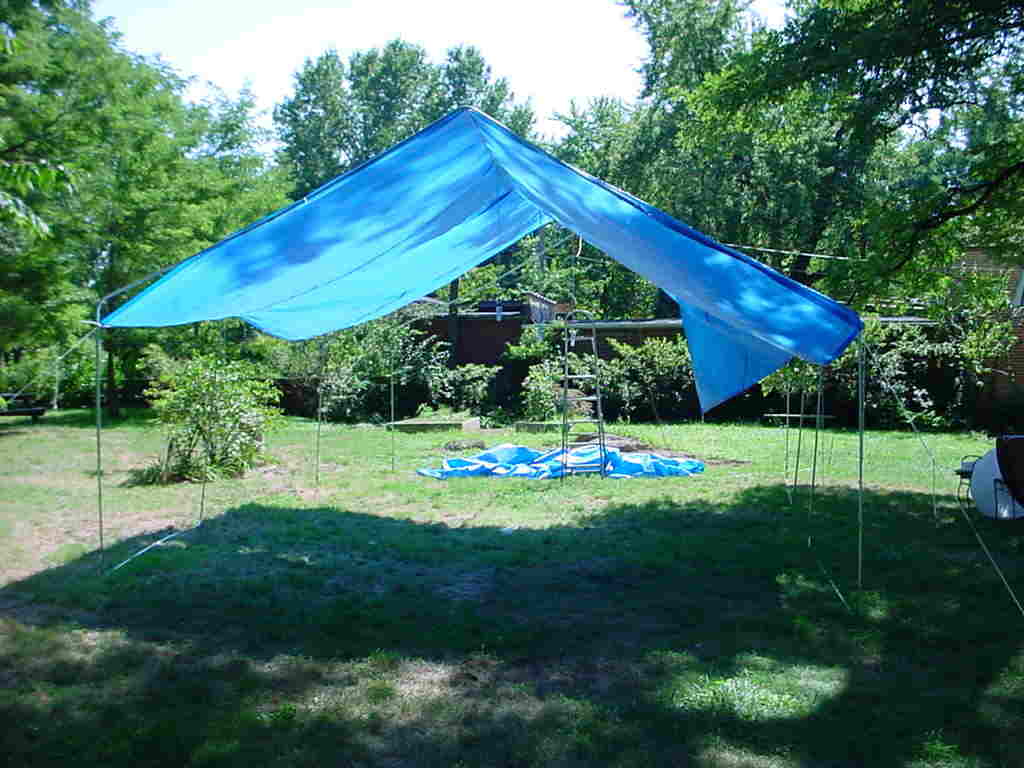
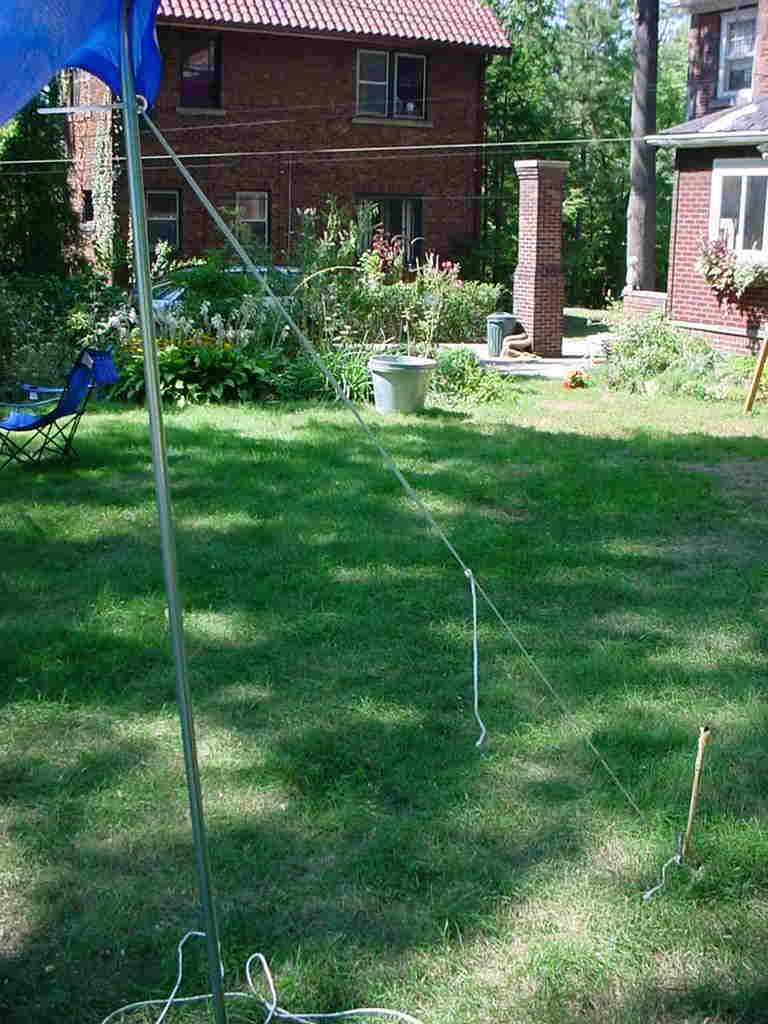
To secure the whole setup with the tarps in place, and to remove any
sag, a few rebar stakes in the ground at the corners tied off with some
rope using sheepshanks or taut line hitches do the trick.

You can adjust each
line as needed on the fly without having to worry about them coming
undone at the wrong time.
It was rather amazing how much tension we could apply
to this to get it taut.
|


