LED blinking eyes                                                                                              A whole lot for not a lot

watch out!

......I swear I just saw something....                                                                  ...... in the bushes......

click on images to see full size

Google

 
http://www.minionsweb.com

 All information presented 
 on this website is 
 presented 'as is', 
 with no warranty, 
 suitability, 
 or fitness 
 of purpose implied.
 I do not accept any
 responsibility for any injury
 resulting from use 
 or misuse 
 of this information.

 Your use of this information 
 constitutes acceptance 
 of  these terms.

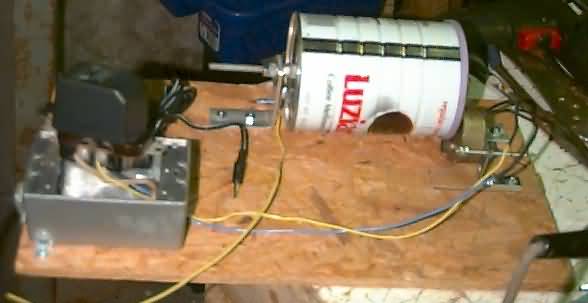
OK, I finished this sucker this week, and set it up in the shrubs having it seen at night finally (been raining the last few days) I have concluded the eyes need to be gathered together in a single area for better effect. You will understand after the description.

The premise is easy all you want to do is rotate a coffee (or whatever type can on axis of its length like a drum rolling down a hill) with a small motor spinning it. You need one contact point that will be consistent to supply power to the drum, and etched areas through the paint to contact brushes to complete the circuit this circuit illuminates the LED's. Be sure to use a DC power source for this part, god forbid you become a ghost while making this.
blink1.jpg (50916 bytes)
OK, this is the real basic early shot (pardon the picture quality, this dig camera blows) coffee can has been mounted with some homemade brackets fashioned from aluminum barstock, a nine inch piece of all-thread plus sufficient nuts and washers to fasten it to the brackets, but enough slack to allow the can to spin freely.

You can see the wall-wart and water-resistant mount box to the lower left, and the motor (1rpm AC) mounted to the right hand side of the can lid.

A good tip, use the can lid to determine the center point for drilling the can bottom, there is a injection nipple there from when the lid was made, right on center.
blink4.jpg (90382 bytes)
In this shot you can barely see anything, but I wanted to point out how I connected the power to the can. Basically, I used a butterfly wall anchor to keep contact with the can as it rotates, by mounting it to the board, and having one leaf ride the can rim.

You can also see the terminal strip that connects the wiring to the contacts that complete the circuit.
blink3.jpg (164463 bytes)
I think you should be able to get the point from this picture. I scribbled the can with a rubber dremel wheel to remove the paint where I wanted the contacts to close the circuit, lighting the LED's. The contacts are connected to the terminal block, and the LAN cables are connected to the other side. I jumpered the negative connection to every other block, with the positives coming in the gaps.

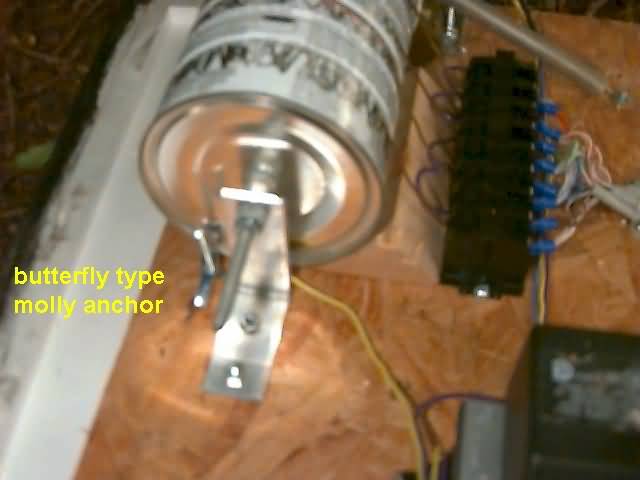
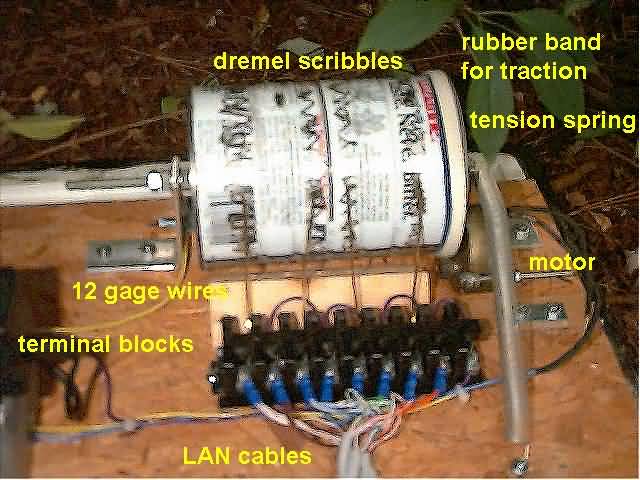
The contacts are just pieces of brass 12 gage wire, stiff and springy enough to maintain contact.

The motor shaft came with a small gear on it, and I didn't have a good coupling, so I added some rubber bands around the lid of the can for traction. To guarantee traction, I also 
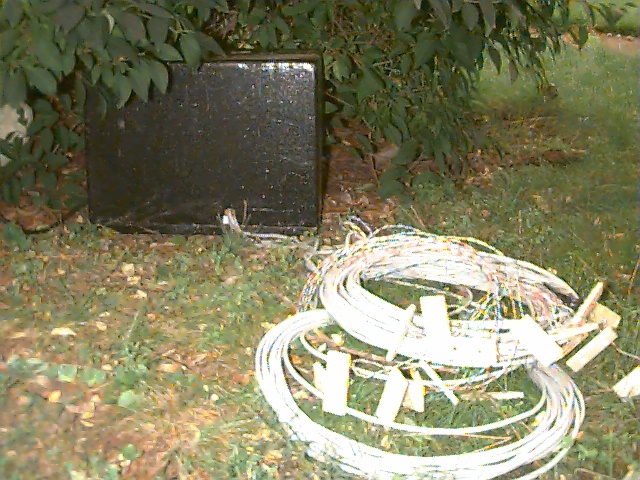
added a spring to tension the axle shaft that passes through the can.
blink5.jpg (186727 bytes)
Here is the unit with the styro cooler cover in place and LAN cables with blinky eyes waiting to be hidden, yeah, I know they should be painted to help hide them.
blink6.jpg (175556 bytes)
OK, just a quick gander at the LAN cable assemblies.
blinkydiagram.jpg (27111 bytes)
wiring diagram

Can from coffee (consumed) 4.50
scrap wood (ply) .50
spring .25
rubber bands (from broccoli) .99
wall wart (from surplus shop) 2.00
terminal strip 1.00
assorted wires .50 (?
screws&nuts .50
outlet .49
cover (outdoor, hinged) 1.79
box (outdoor) 2.29
strain reliever .05
butterfly wall anchor .10
connectors (assort.) 1.10
motor (1rpm AC, surplus shop) 1.95
LAN cable approx. 200ft (Home depot surplus) 3.00
32 LED's (assort colors) 8.00
Total cost  29.01
plus 2 hours labor
I can double the amount of eyes with voltage to spare for another 12.00 hehe

Oh yeah, I had a thought gang (since I used one for a weather cover for this device). You can probably get styro coolers (roughly 18x18x10, plus a variety of other sizes) from your local petshop that sells fish. I have probably 100 of these from my aquarium biz days in my garage. I plan on using em for covers, fog chillers, fog expanders, tombstones....... Plus, enamel rustoleum is styro safe (painted the foam cooler with it to hide it easier).

I will try to get pics of the finished lights in place at night, and animate it so you can see the effect.

New version coming up driven by 555 circuits, stay tuned!

watch out!

You are visitor #  to this web page since October 7th, 2001
You are visitor # to this WEBSITE Since October 7th, 2001
Copyright © 1999-2006 Ten Men Productions. All rights reserved. Revised: October 17, 2006 0:50 AM